Embarking on a DIY powder coating project at home can transform your metal objects with a durable, professional-grade finish. Powder coating not only enhances their appearance but also extends their lifespan by providing a robust protective layer.
This guide covers the essentials of powder coating, from preparation to application, focusing on achieving stellar results in various climates. We’ll discuss the necessary equipment, the different types of powders, and the techniques needed to ensure a smooth, even coat, regardless of the weather conditions you encounter.
Understanding Powder Coating
Powder coating is a finishing technique that enhances metal objects with both decorative and protective layers. Unlike traditional paint, it uses a dry powder that is electrostatically charged and sprayed onto the surface. The object is then heated to cure the powder, forming a smooth, durable layer. This method not only provides a thicker coating than conventional liquid paint but also eliminates problems such as running or sagging.
Equipment You’ll Need
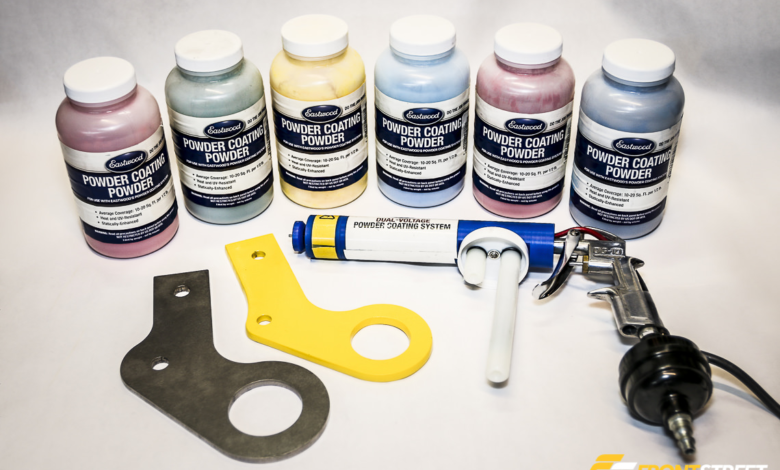
To start your DIY powder coating process, you’ll need a few key pieces of equipment:
A powder coating gun: This tool applies an electrostatic charge to the powder particles.
An electric oven or infrared lamp: Essential for curing the coated object.
Safety gear: Includes respirators, gloves, and goggles to protect against inhaling powder particles.
Preparing Your Workspace
In Utah, selecting the right space for your powder coating work is essential. Ideally, choose a well-ventilated area away from direct sunlight and moisture. Keep the space clean to prevent powder contamination, which could compromise the final finish.
Preparation of Metal Objects
Proper preparation of your metal objects ensures that the powder coat adheres well and lasts longer. This involves:
Cleaning: Remove all grease, dirt, and rust from the object.
Sandblasting: This step is to roughen the surface for better adhesion.
Applying a phosphate coating: This enhances the durability and corrosion resistance of the metal.
Applying the Powder
Once your object is prepped, it’s time to apply the powder. Here’s how you can do it:
Ground the object to prevent the powder from bouncing off.
Use the powder coating gun to evenly spray the powder onto the surface.
Keep the gun at a consistent distance to ensure uniform coverage.
Curing the Coating
Curing the powder is a crucial step in the coating process, requiring the object to be baked in an oven at a specific temperature. This process melts the powder into a smooth film, which then hardens to form a durable coat. To achieve optimal results, ensure you adhere to the powder’s specified temperature and curing time guidelines.
Finishing Touches
After curing, let the object cool in a clean environment to prevent dust from settling on its surface. Once cooled, you can appreciate the high-quality finish of your powder-coated item.
Maintenance Tips
Maintaining your powder-coated items is simple. Regularly clean them with soapy water to preserve their appearance. Avoid abrasive cleaners, as they can damage the coating. If you notice any chips or scratches, touch them up with a matching powder coat and cure as per the original process.
Conclusion
Now that you know the basics of DIY powder coating, it’s time to give it a try. Remember to follow all safety precautions and carefully prepare your workspace and objects for best results. With proper technique and equipment, you can achieve professional-quality powder coating right in your own home.
So go ahead and transform those old metal items into durable, eye-catching pieces with this easy and cost-effective method!